Making a quick and easy website!
An easy step-by-step guide to making yourself a personal website... for free!

Step 1: Register a domain
Let's start by registering a domain! (Your website name.) This is my favorite part. Go to https://marque.at/ and log in with your Atmosphere account (aka your Bluesky account, Blacksky account, Mu Social account, etc).
Then click [ + New domain ] and start searching! I absolutely recommend scrolling to the bottom and clicking the [ Show more extensions ] button. Sure, .com is great. But you can also get stuff like .diy and .mov and .work and .studio and .town!

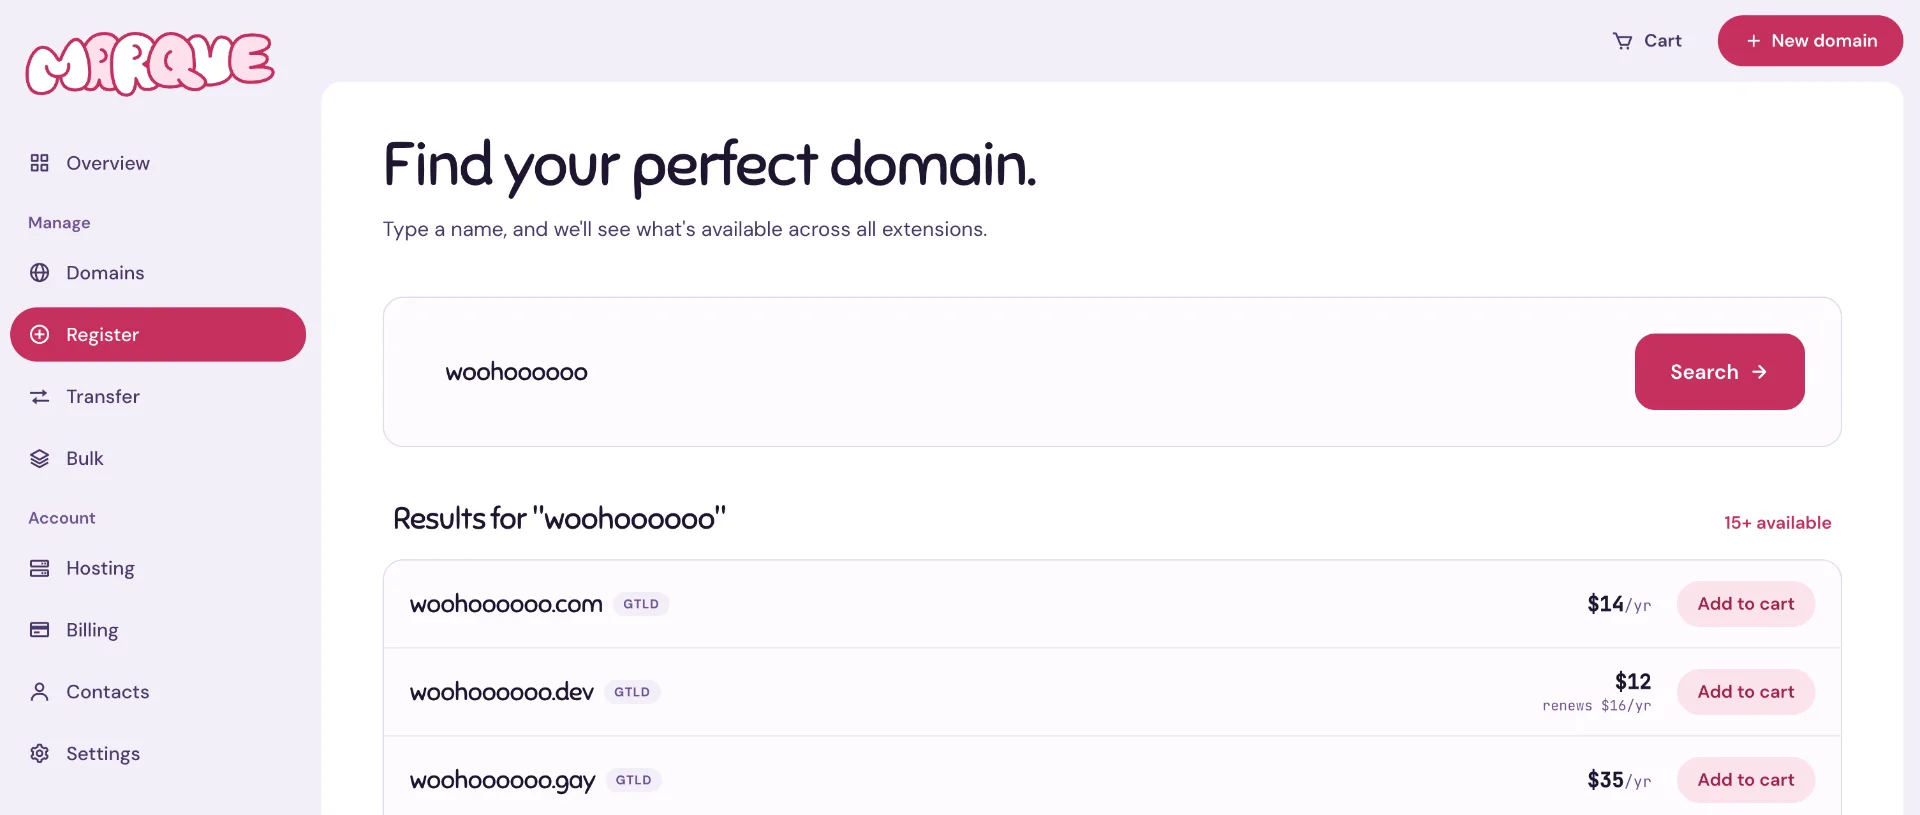
Once you find a domain name, add it to your cart and buy it! The bold price is the cost of owning the domain for its first year, but pay attention to how much it renews for, as well. Sometimes the first year is a lot cheaper.
Step 2: Make your Blento site
Next step: making the actual website! This is also my favorite part. Go to https://blento.app/ and log in with your Atmosphere (i.e. Bluesky/Blacksky/Mu) account. (That's the beauty of the Atmosphere! You can do all this with just one login.)
Once you sign in, Blento will make you a one-page website. Use the [ + Add Card ] button in the bottom right corner to add text, images, links, Bandcamp embeds, Bluesky posts, and more! (And, in place of a Contact Me form, you can add a DM on Germ button. Shoutout Germ.)

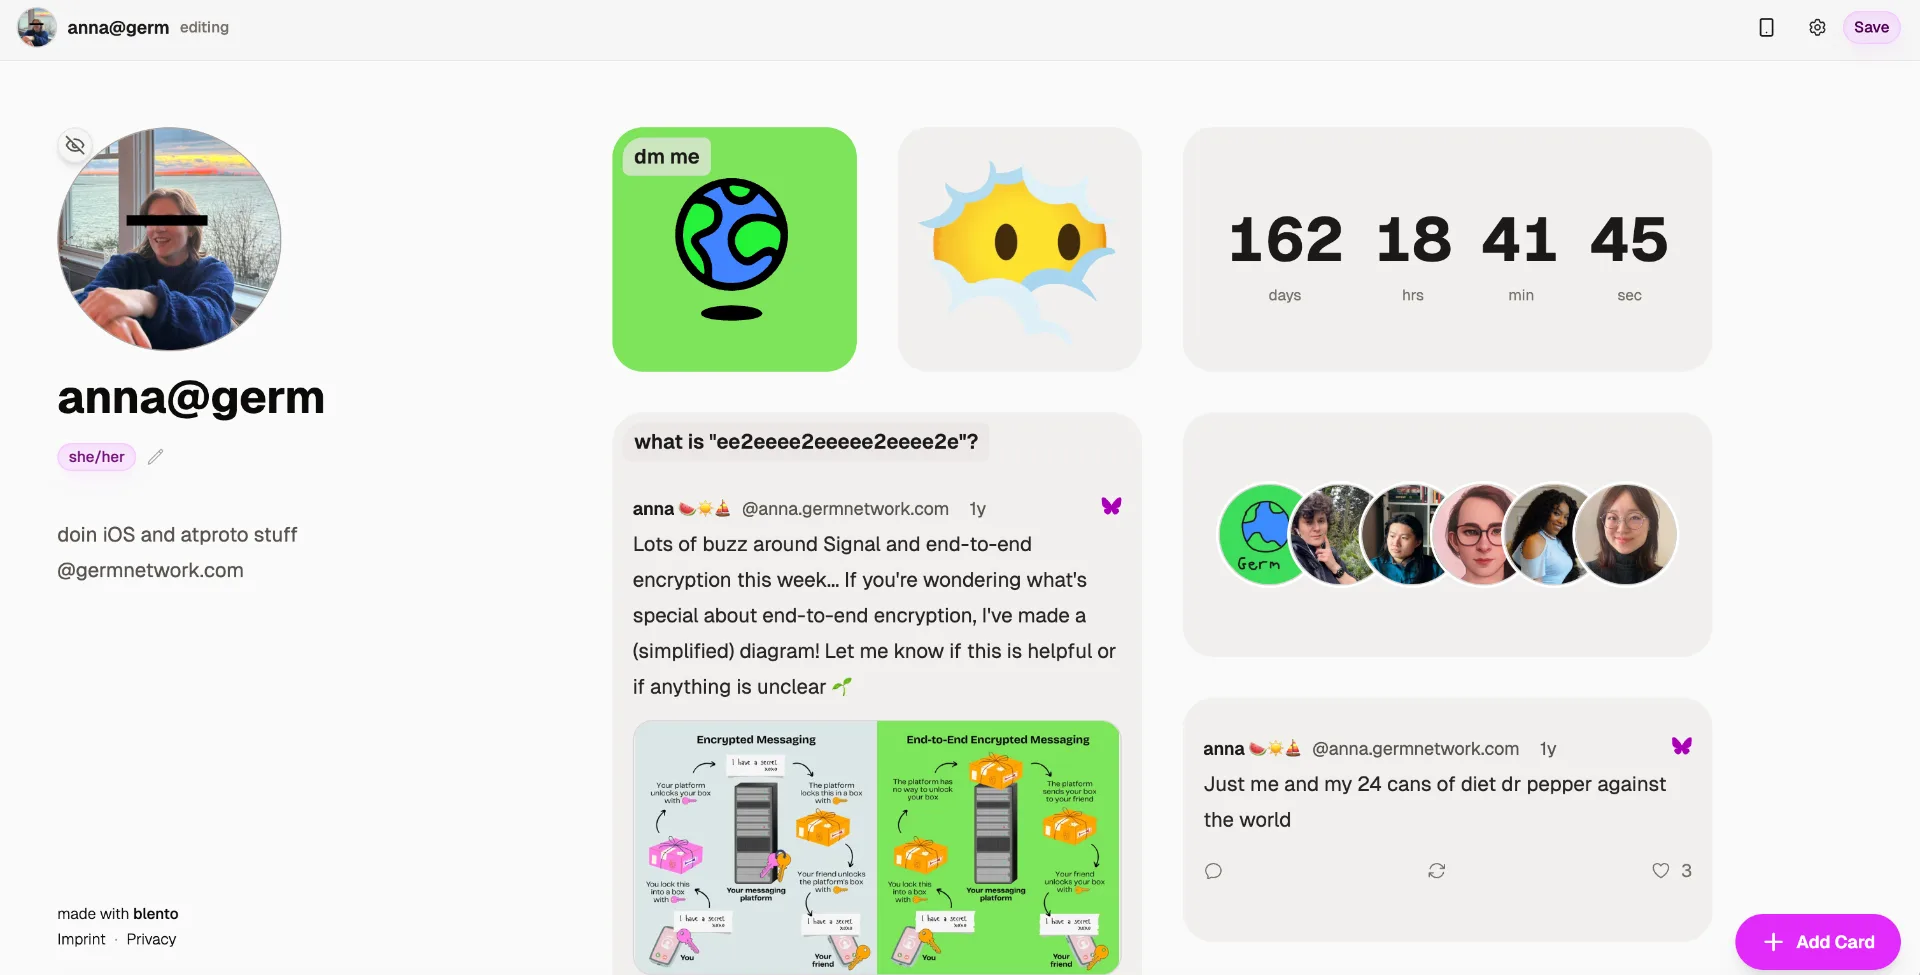
By default, your website includes a profile sidebar that you can customize. You can change how it's displayed (or hide it altogether) at Settings > Page, which is also where you can change your color scheme!
Lastly, to make sure your site shows up on mobile the way you want, make sure to click the little phone icon in the top right corner! And then click [ Save ] when you're done.
Now, whatever your Atmosphere username is, you can use that to access your Blento site. For instance, my username is @anna.germnetwork.com, so my website would be available at https://blento.app/anna.germnetwork.com. And you can start sharing that with people right away, or, even better: you can connect your domain you just bought! Let's do that next.
Step 3: Prepare your domain
Head back to your Marque dashboard (but don't close the Blento tab—we'll be back!). In the sidebar, click on [ Domains ].

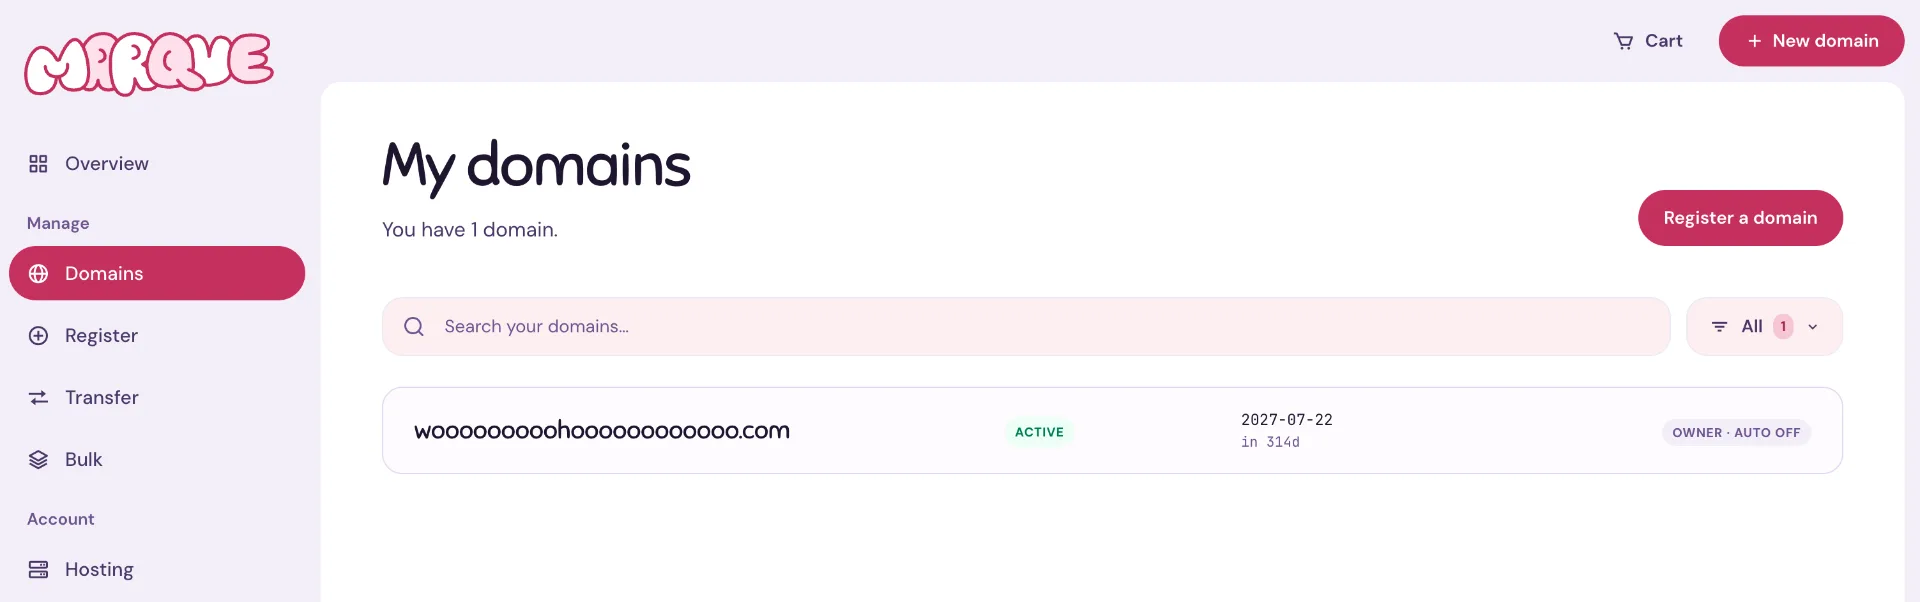
Then click on the domain you want to connect to your website.

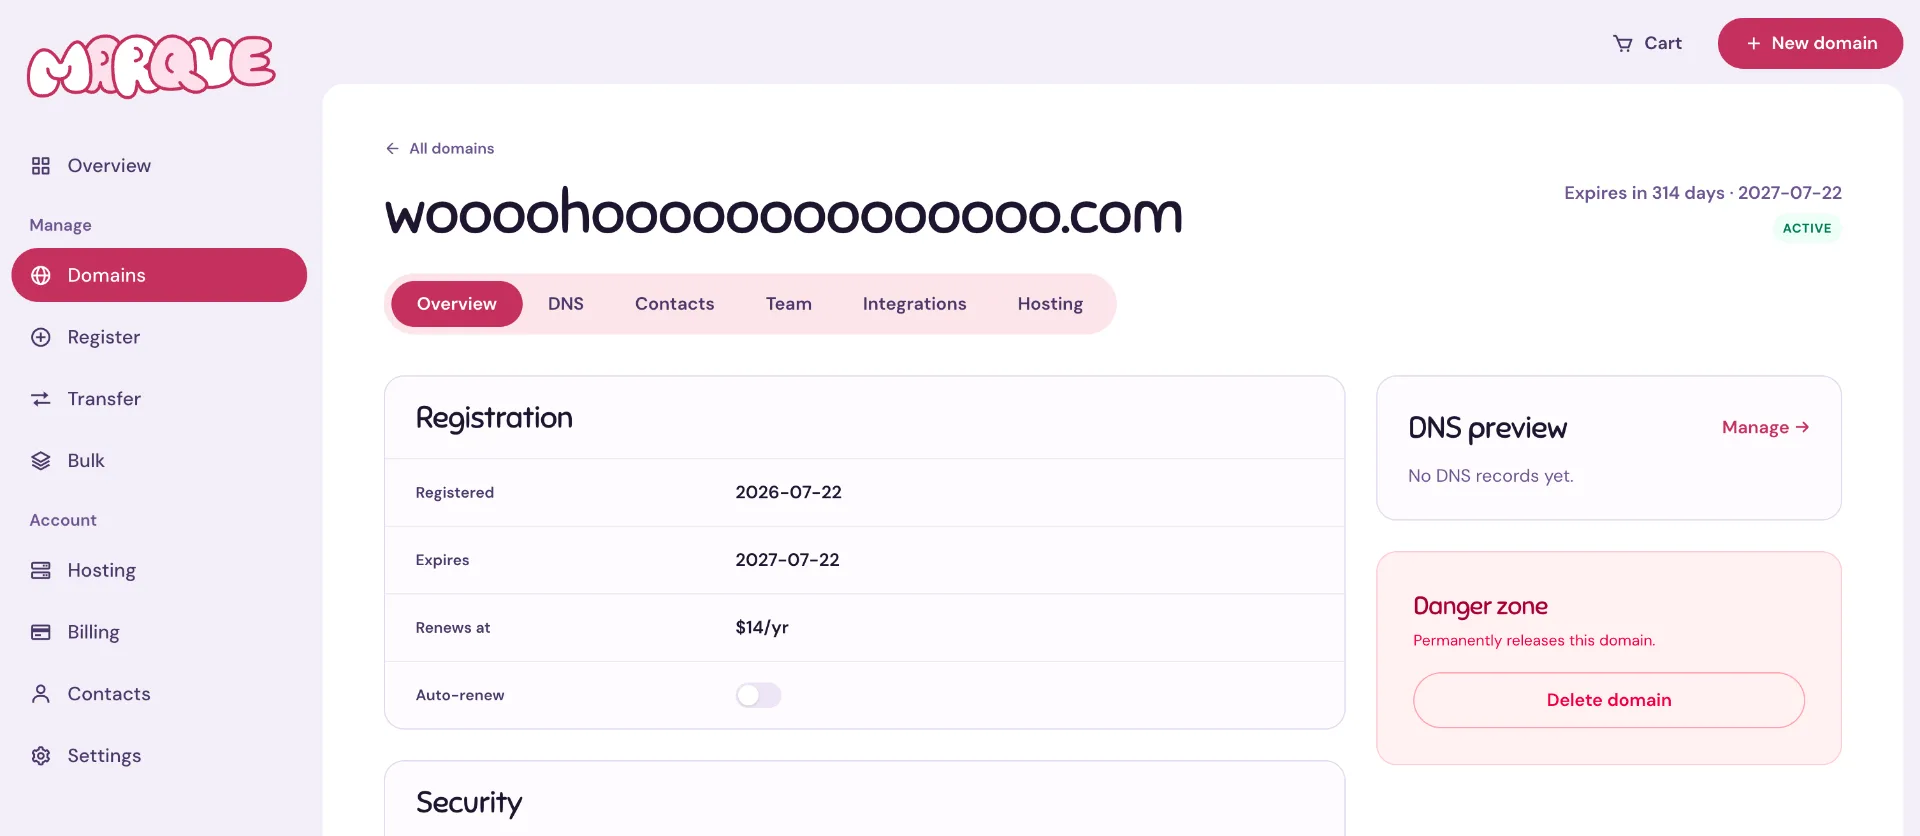
Whew! Lots of information. But you can ignore all of it and click on the [ DNS ] button in the top bar. (Can't find it? It's the button next to [ Overview ] which should be initially selected.)

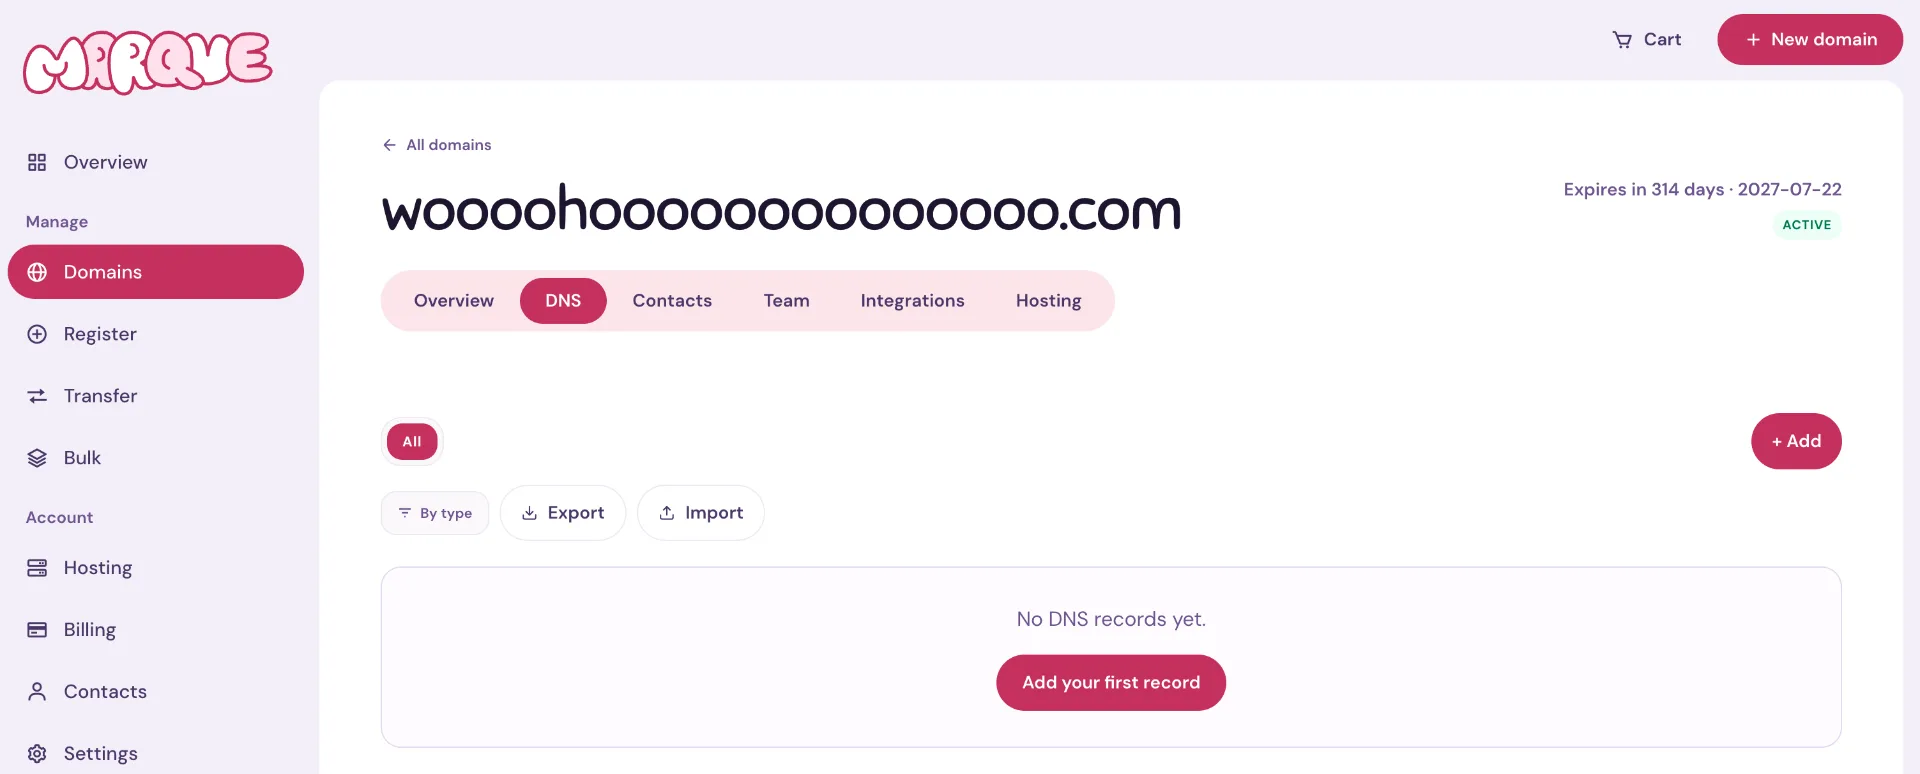
If you just bought the domain, you won't have any records yet, but you'll want to add a record that redirects from this domain to your Blento site. So go ahead and click [ Add your first record ]. And then fill out the pop-up exactly as I have, below.
Type: CNAME
Name: @
Value: blento-proxy.fly.dev
(At this point, by the way, if you'd rather have your site linked to by a subdomain, aka something.yourdomain.com, you can change the Name field to be something instead of @.)
Then click [ Add record ]!

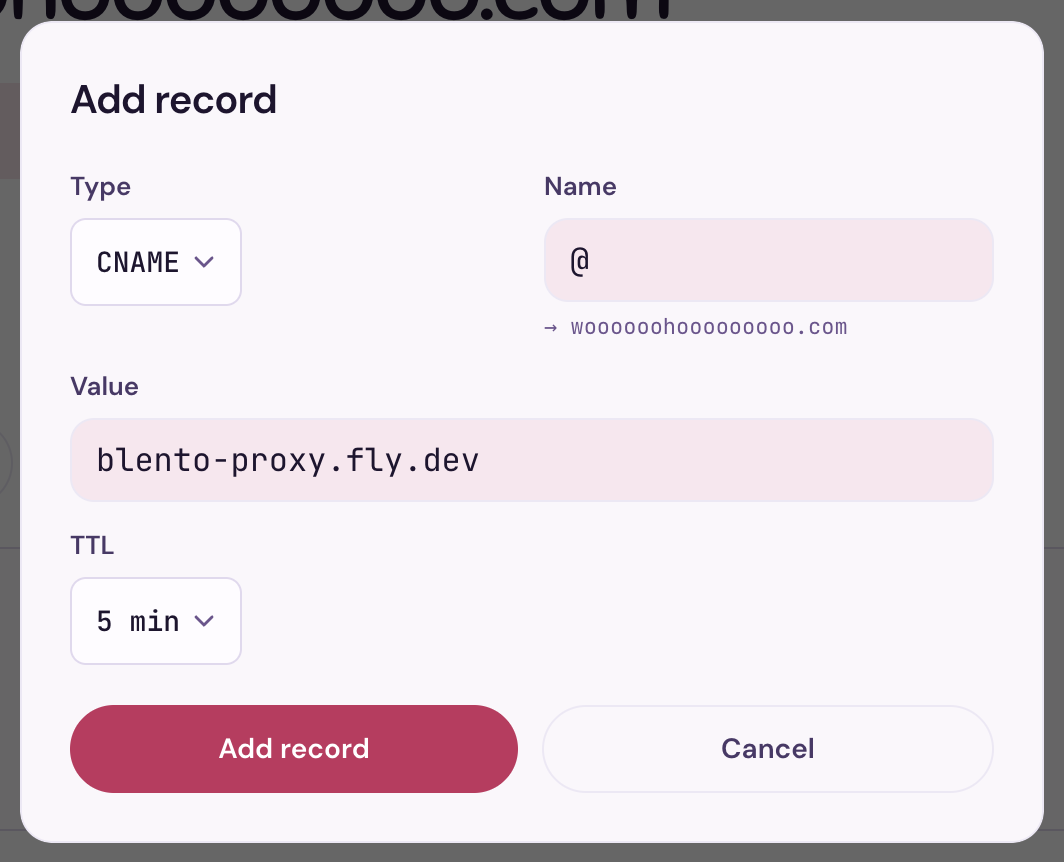
Okay, great. So now our domain trusts Blento. Now it's time to head back to Blento and point to our domain!
Step 4: Connect your domain
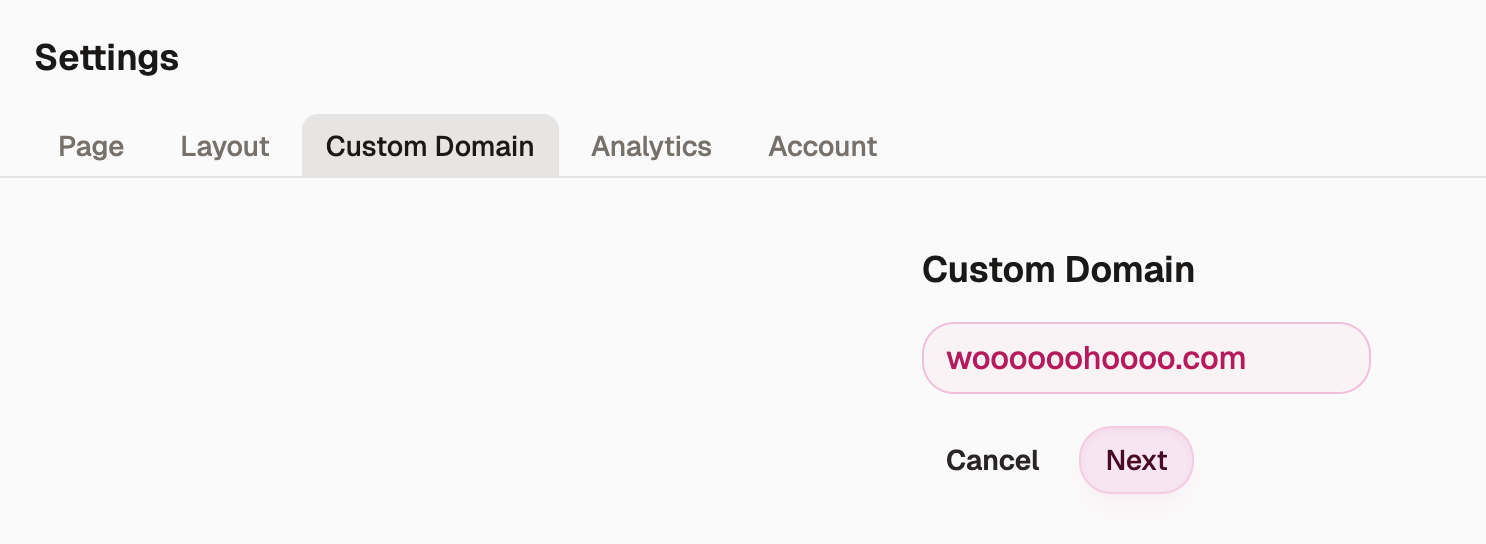
Back on Blento, go to Settings > Custom Domain. Then type in your new domain name (or, if you were using a subdomain, type that instead) and click [ Next ].

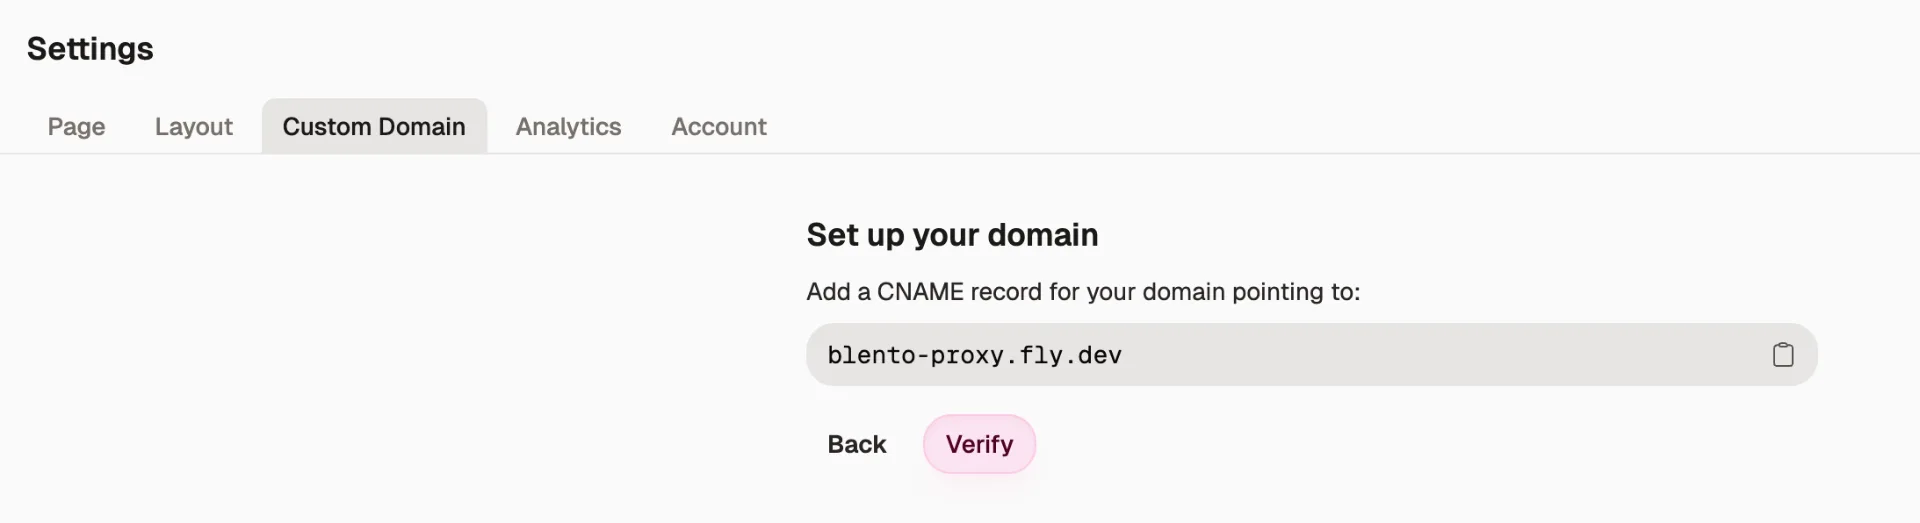
Next, it will ask you to add a CNAME record to your domain. You've just done that in Step 3! So you can go ahead and click [ Verify ] now.

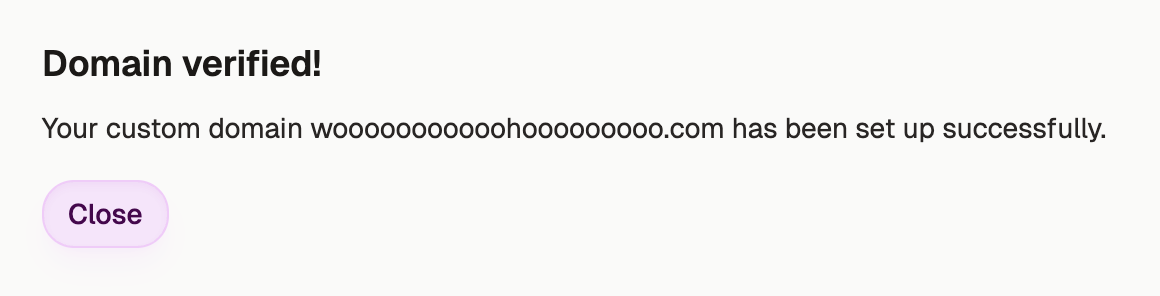
And then, if everything is set up correctly, you should get this lovely Domain verified! message. You can click [ Close ] and you're all good to go!

Now try typing your domain (or subdomain, if you made one) into a browser. It should redirect to your new Blento site!
Step 5 (Optional): Update your Atmosphere username!
If this is your first domain, you may have a generic Atmosphere username (on Bluesky, on Blacksky, on Mu Social) like @barbara.bsky.social or @brianna.blacksky.app or @emelia.eurosky.social. And with the new domain you purchased, you can customize your username even further!
Go to wherever you manage your Atmosphere account (bsky.app, blacksky.community, mu.social), and then navigate to Settings > Account > Handle.

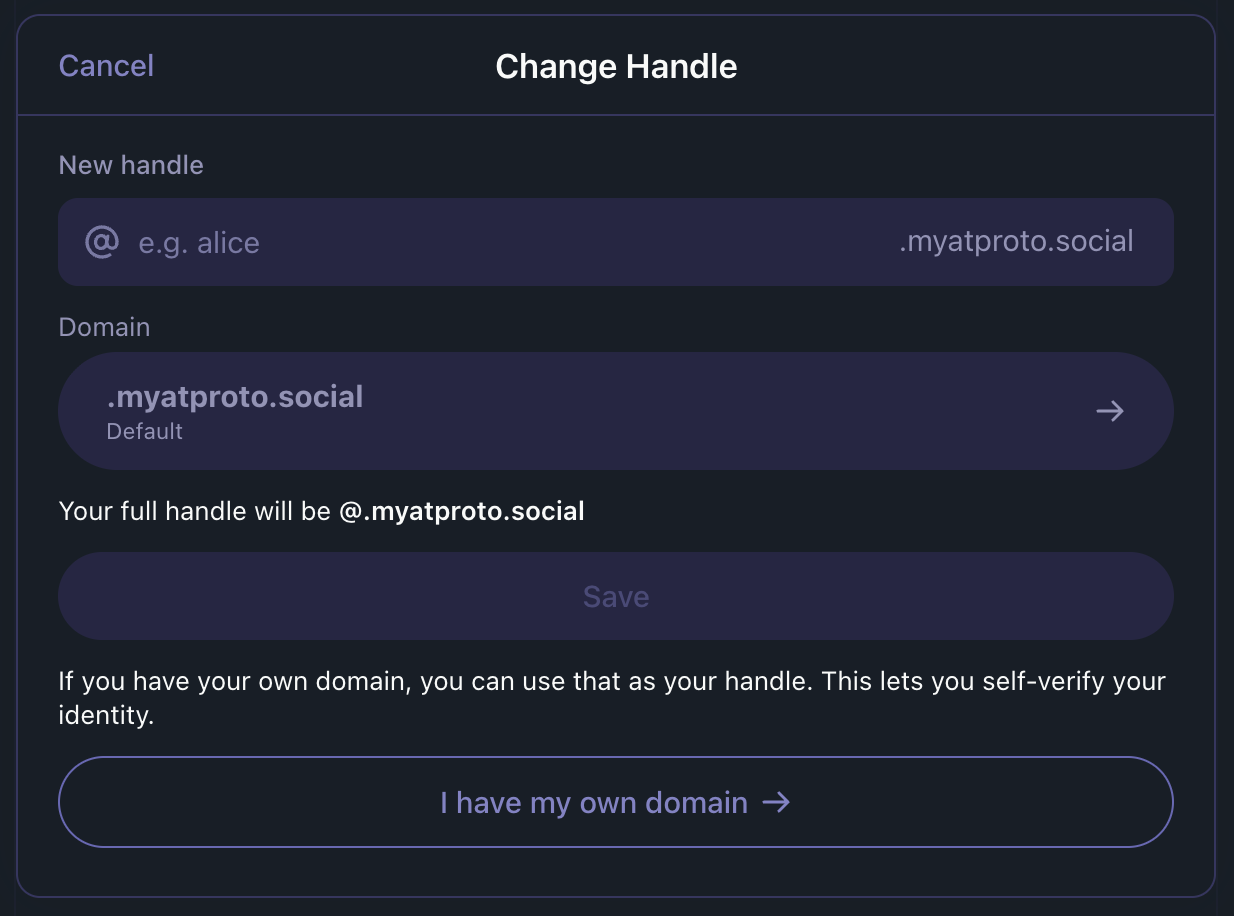
Then click [ I have my own domain ➜ ] and type in the domain you want to use. Then, from that big chunk of information they've given you, copy the Value field. It should look like did=did:plc:abunchofnumbersandletters. We'll need this value in a second!

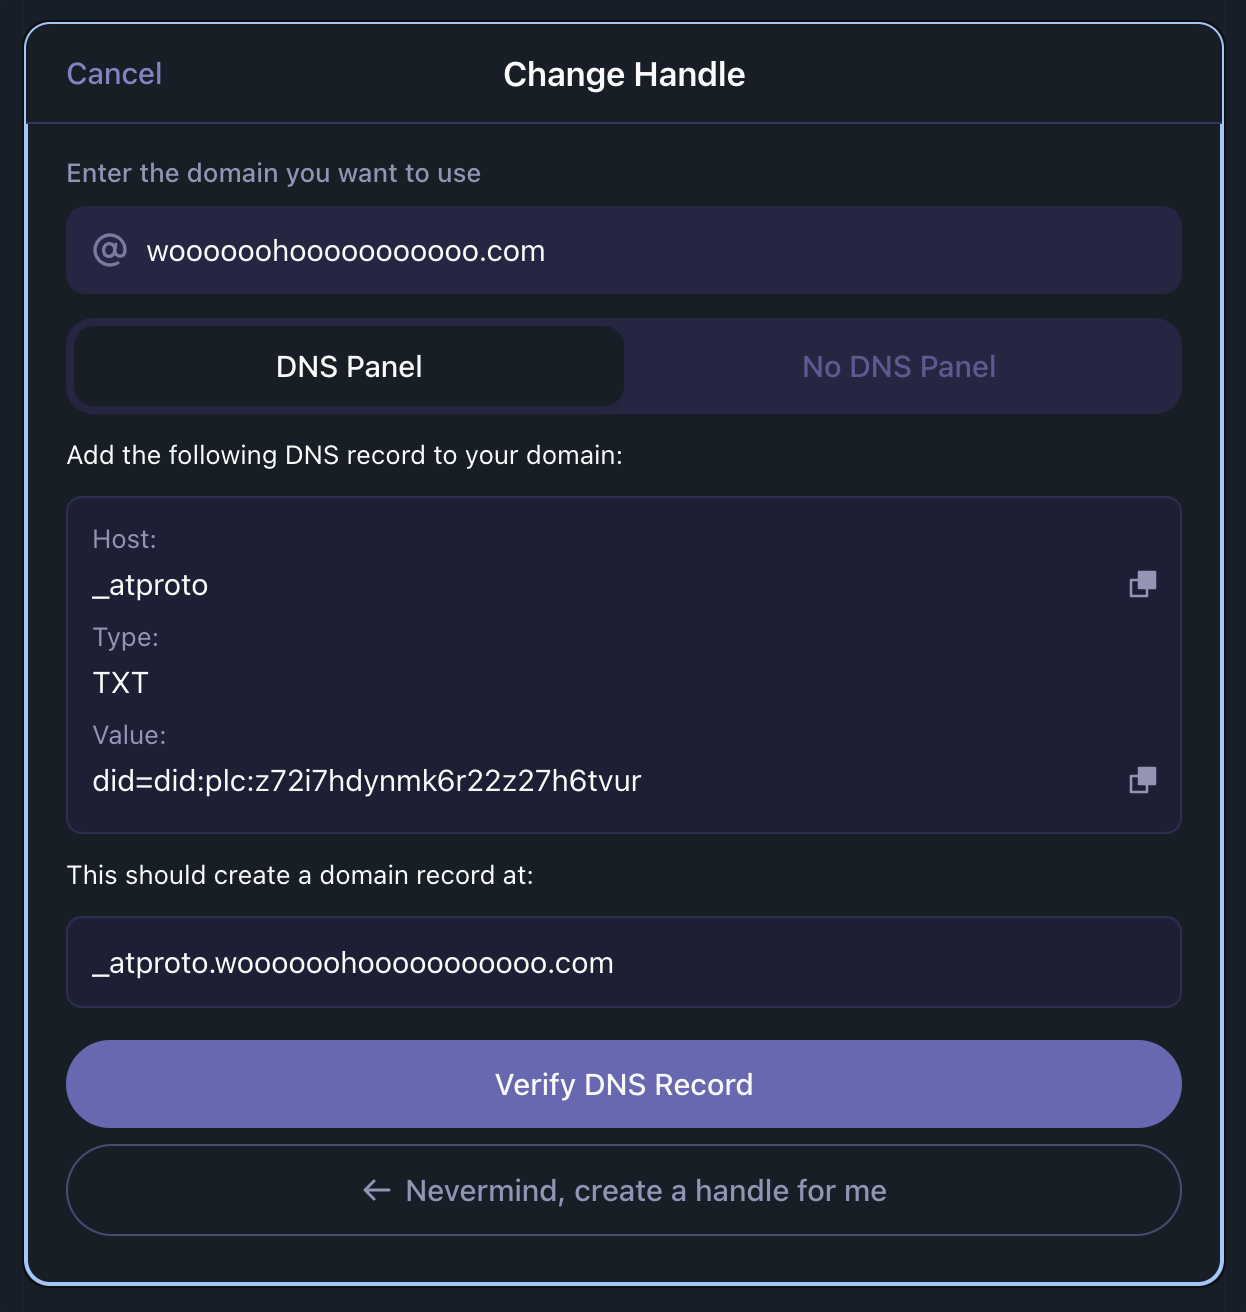
Now, let's go back to Marque. It should be the same tab as last time, but in case you missed it—go to the Dashboard > Domains > DNS.

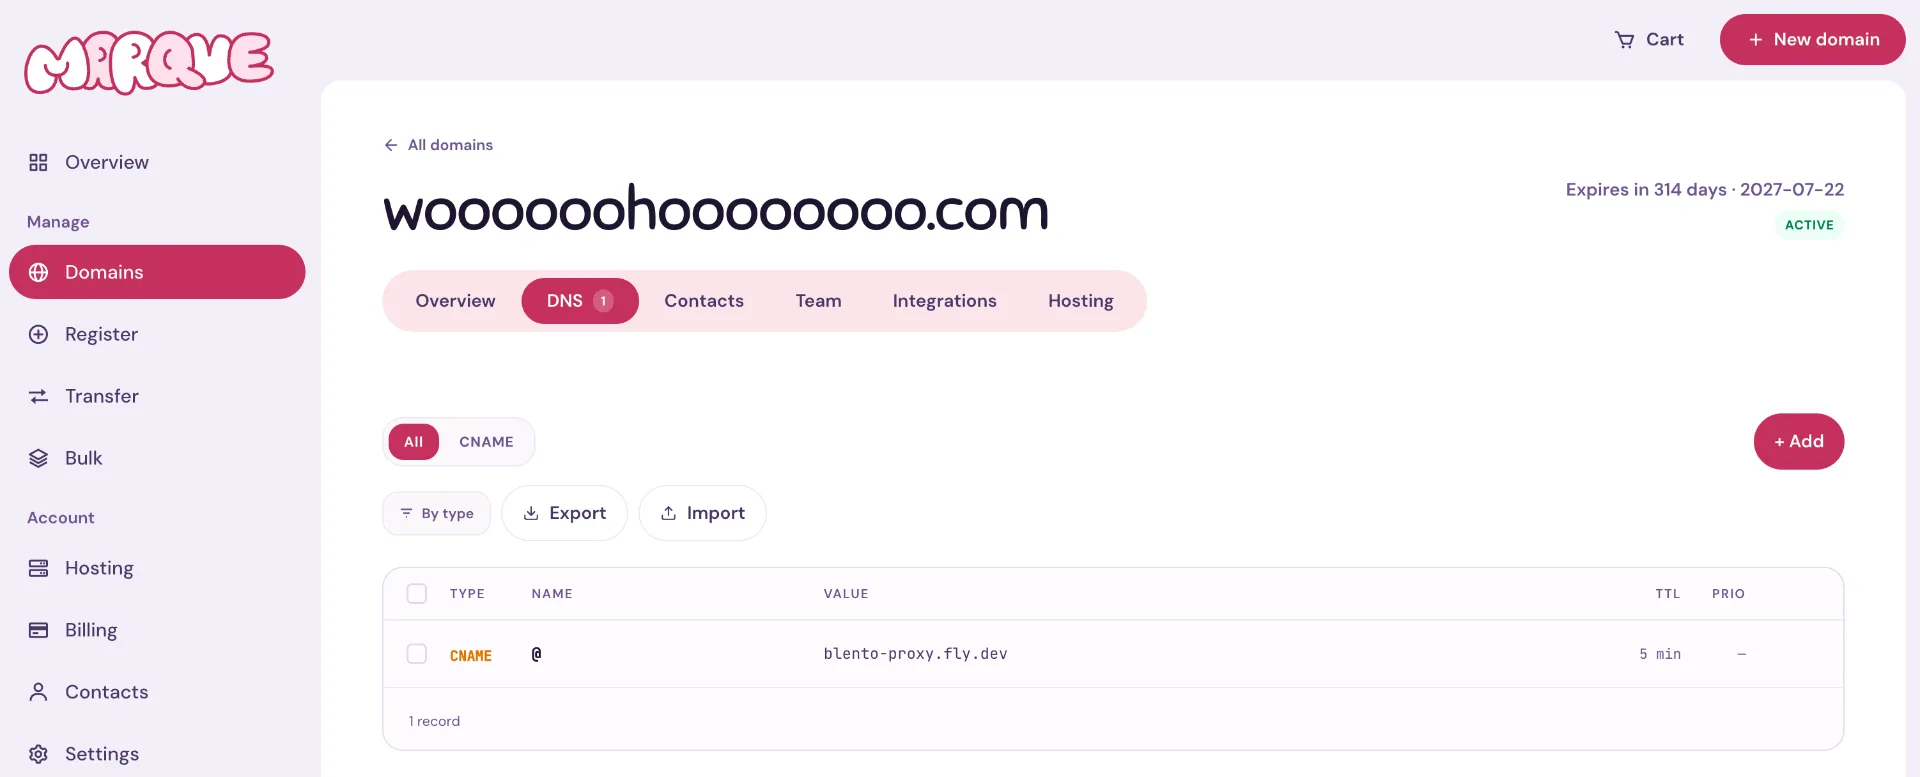
You should have a CNAME record, but we need to add a new record to set up our custom username! So click [ + Add ] to add a new record. And then fill out the pop-up exactly as I have, below.
Type: TXT
Name: _atproto
Value: [Paste in the did=did:plc:abunchofnumbersandletters that you copied earlier!]
Then click [ Add record ].

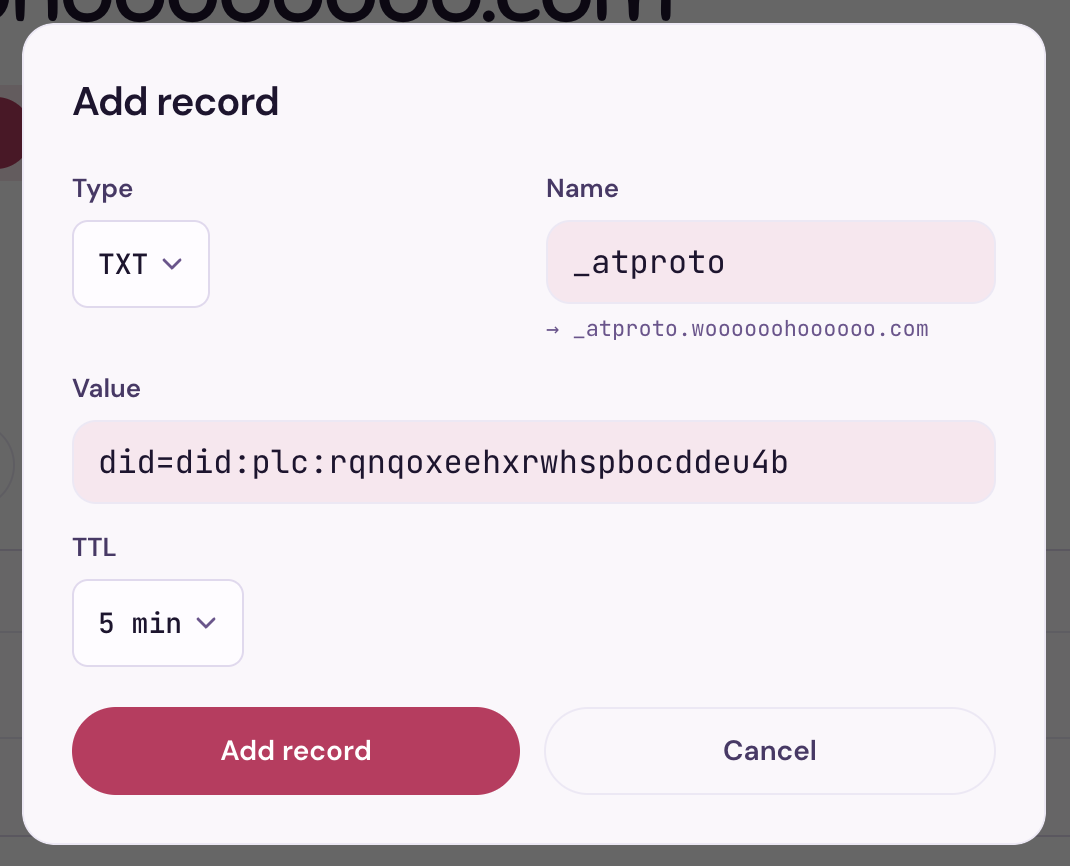
OKAY GREAT! Hang in there. There's one more step.
Go back to Bluesky or Blacksky or Mu Social or wherever you were in your account settings. You should still have that nice Change Handle popup. Click [ Verify DNS Record ]. If it fails, just wait a few minutes (for your new DNS record to get picked up) and try again. At some point, you should get a nice Domain verified! message.

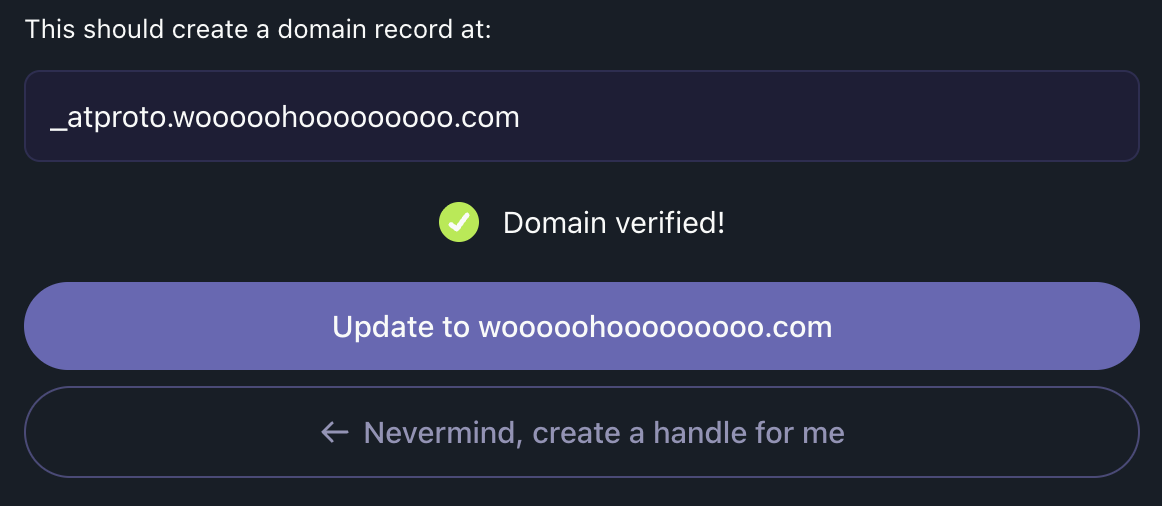
Then click [ Update to yournewdomain.com ].
Boooooom! Your Atmosphere username is updated! Now you've got:
- A custom domain name
- A website that it points to
- An Atmosphere username to match!
Happy websiting!
xoxo,
Anna
P.S. Wondering what the Atmosphere is?
If you were reading this article thinking, "This is fun, but what's the Atmosphere?"
...Then you should check out cozylittle.house's Atmosphere explainer!